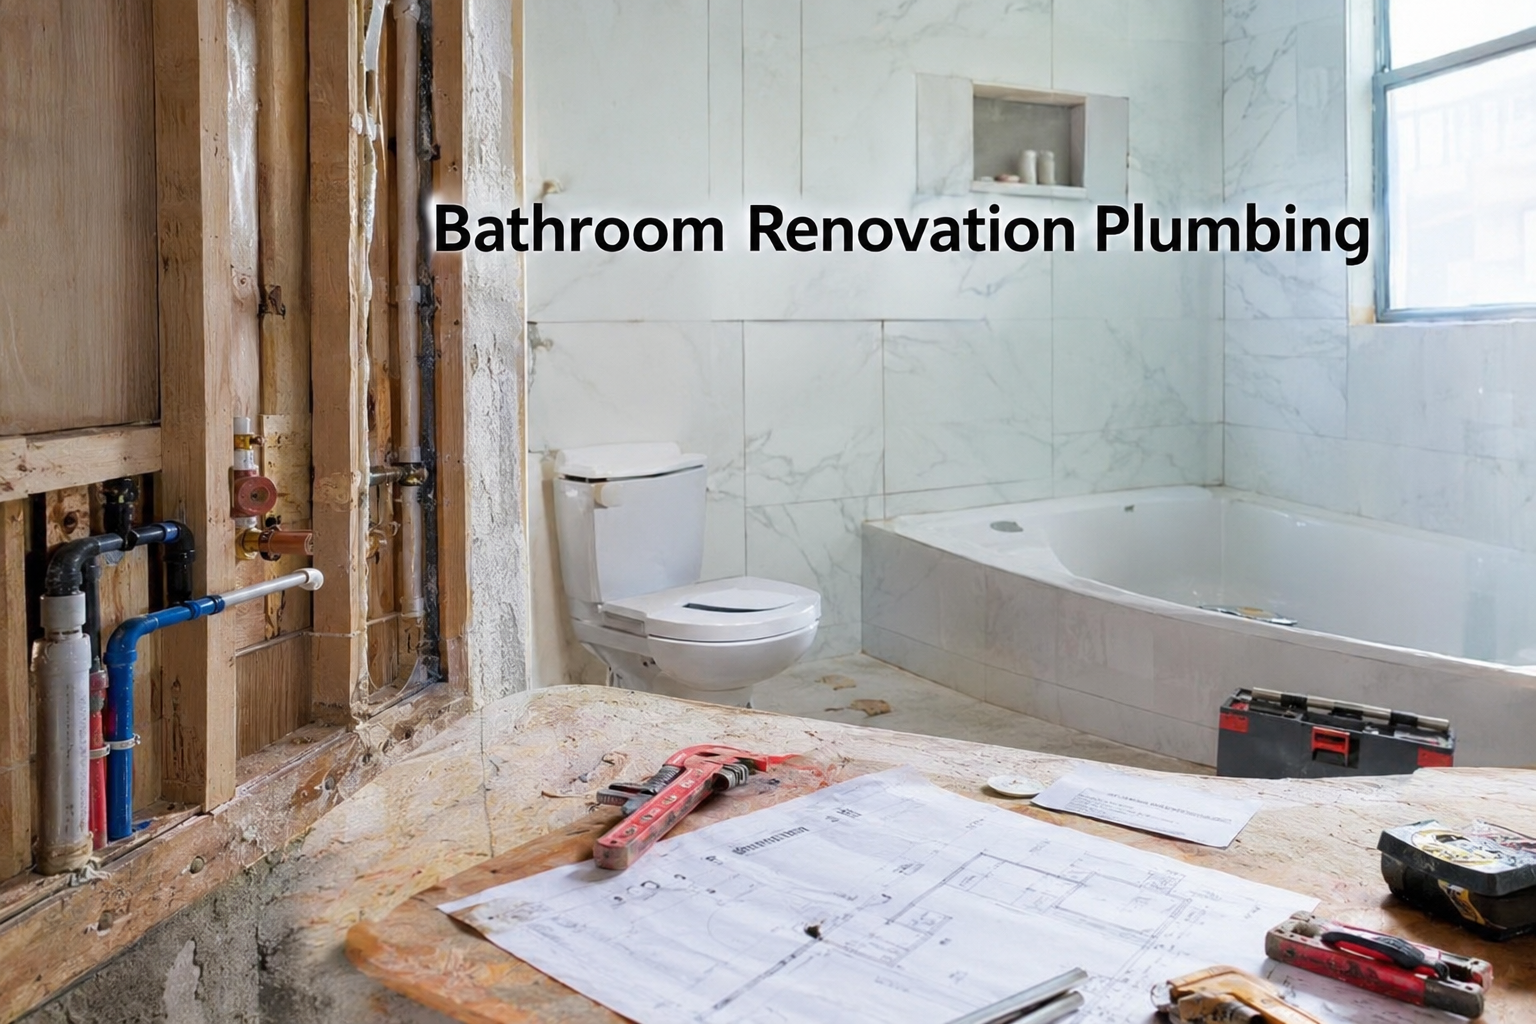
A bathroom renovation can look simple from the outside: new tile, a modern vanity, a better shower, and fresh fixtures. But behind those finished surfaces is a plumbing system that determines how well the space works for years to come. Bathroom renovation plumbing involves much more than connecting a new faucet. Depending on your project, it can include replacing supply pipes, changing drains, modifying vents, relocating fixtures, installing a shower valve, and testing everything before the walls are closed.
Planning the plumbing early can prevent expensive surprises later. A well-designed bathroom plumbing layout also makes it easier to coordinate the plumber, electrician, waterproofing contractor, tile installer, and cabinet installer.
Whether you are replacing a few fixtures or completely changing your bathroom layout, understanding the plumbing process helps you make better decisions, control project complexity, and recognize when professional help is necessary.
What Is Bathroom Renovation Plumbing?
Bathroom renovation plumbing is the inspection, modification, replacement, or installation of the plumbing systems needed during a bathroom remodel. These systems generally include water supply lines, drainage, waste piping, venting, traps, valves, and fixture connections.
A cosmetic renovation may require little plumbing work if the toilet, sink, and shower remain in their existing locations. A major remodel, however, may require bathroom plumbing installation behind walls or beneath floors.
The biggest distinction is whether you are replacing fixtures in the same locations or changing the plumbing layout. Moving a toilet or shower can require considerably more work than replacing an existing fixture.
Do You Need to Change the Plumbing During a Bathroom Renovation?
Not every bathroom remodel requires new plumbing. If your existing pipes are in good condition and the new fixtures will remain in approximately the same locations, the work may be relatively straightforward.
Plumbing changes become more likely when you move fixtures, discover deteriorated pipes, change a bathtub into a shower, install a double vanity, or modify drainage and vent routes.
| Renovation | Plumbing Complexity | Potential Work |
|---|---|---|
| Replace faucet | Low | Supply connections |
| Replace toilet | Low to moderate | Supply and flange connection |
| Replace vanity | Low to moderate | Supply and drain connections |
| Install new shower | Moderate to high | Valve, supply, drain and waterproofing |
| Move toilet | High | Drain, vent and supply changes |
| Change bathroom layout | High | Multiple supply, drain and vent modifications |
Keeping fixtures near their original locations can simplify the project, but the existing plumbing should still be inspected before renovation begins.
Plan Your Bathroom Plumbing Before Demolition
One of the most important rules of bathroom remodeling is to plan the plumbing before you start tearing out walls or flooring.
Begin with a measured bathroom layout. Mark the proposed locations of the toilet, vanity, shower, bathtub, and other fixtures. Consider door clearance, cabinet dimensions, finished wall thickness, and access to plumbing components.
Inspect Existing Plumbing First
Before committing to a new layout, inspect accessible pipes, shutoff valves, drains, and connections. Look for corrosion, leaks, mineral buildup, damaged fittings, or previous repairs that may indicate larger problems.
If old plumbing is already showing signs of deterioration, covering it with new walls and tile may only postpone the problem.
Decide Which Fixtures Will Move
Fixture relocation is one of the biggest factors affecting bathroom renovation plumbing. Moving a vanity may require relatively simple changes, while moving a toilet can involve rerouting a larger waste line and addressing venting.
A professional can determine whether your desired layout is practical before construction begins.
Bathroom Plumbing Rough-In Explained
The plumbing rough-in is the stage when the main plumbing infrastructure is installed before walls, flooring, and other finished surfaces conceal it.
This stage is critical because mistakes are much easier and less expensive to correct while the plumbing remains accessible.
What Is Installed During Rough-In?
Depending on the bathroom design, rough-in plumbing may include:
- Hot and cold water supply lines
- Drain and waste pipes
- Vent piping
- P-traps
- Shower valves
- Toilet connections and flange components
- Sink connections
- Fixture shutoff valves
- Required cleanouts and supports
Exact requirements vary according to the building, plumbing system, fixture specifications, and local codes.
Why Rough-In Accuracy Matters
A pipe that is positioned incorrectly can create problems when the vanity, shower wall, toilet, or finished flooring is installed. The result may be an awkward fixture connection, insufficient clearance, a leak, or expensive rework.
Before the walls are closed, plumbing should be checked and tested according to the requirements applicable to the project.
How Bathroom Plumbing Works Behind the Walls
Understanding the basic system makes renovation decisions easier.
Water Supply Lines
Supply lines carry clean water to fixtures such as sinks, toilets, showers, and bathtubs. Most bathroom fixtures need appropriate shutoff valves so the water supply can be isolated for maintenance or repairs.
Drain-Waste-Vent System
Drainage carries used water away from fixtures. Waste piping handles wastewater, while venting helps maintain proper pressure within the drainage system and supports effective drainage.
P-Traps
A P-trap holds a small amount of water that helps prevent sewer gases from entering the bathroom through a fixture drain.
Improper trap or vent arrangements can contribute to drainage problems, odors, or other plumbing issues, which is why significant changes should be planned carefully.
Plumbing Requirements for Each Bathroom Fixture
Every bathroom fixture has different plumbing requirements, even when several fixtures share the same general system.
Toilet Plumbing
A toilet requires a water supply connection and an appropriate waste connection. The toilet flange and drain location are particularly important when replacing or relocating a toilet.
If the toilet moves significantly, the drainage and venting arrangement may need to change as well.
Sink and Vanity Plumbing
A bathroom sink normally requires hot and cold water connections plus a drain and trap. Double vanities may require additional planning for two fixtures sharing the available supply and drainage infrastructure.
Vanity dimensions should be finalized before rough-in so plumbing does not interfere with drawers, cabinets, or storage.
Shower Plumbing
Shower plumbing can involve hot and cold water supplies, a shower valve, showerhead connection, diverter components where applicable, and a properly positioned drain.
The shower valve must also be coordinated with the finished wall assembly. Waterproofing around plumbing penetrations is equally important.
Bathtub Plumbing
A bathtub typically involves water supply connections plus a drain and overflow system. Freestanding tubs can require especially careful planning because the final fixture position must align with the plumbing underneath.
Should You Move the Toilet, Shower, or Sink?
Moving bathroom fixtures can improve the layout, but it also increases plumbing complexity.
If you are changing a bathtub into a walk-in shower, for example, the new shower drain may not align with the existing tub drain. The shower valve also needs to be positioned correctly within the new wall assembly.
Moving a toilet can be even more complicated because the waste connection and venting need to accommodate the new location.
A vanity relocation may be simpler, but the water supply and drain still need to match the new cabinet and sink configuration.
Practical example: Suppose your bathtub sits against the back wall and you want to replace it with a larger walk-in shower. Before demolition, determine whether the existing drain can serve the new shower location, where the valve will sit, how the floor will accommodate the drain, and how waterproofing will connect around the plumbing.
Choosing Plumbing Pipes and Materials
The right plumbing materials depend on the application, existing system, local requirements, and professional design.
| Material | Common Use | Advantages | Considerations |
|---|---|---|---|
| PEX | Water supply | Flexible and easy to route | Local requirements vary |
| Copper | Water supply | Durable and established | Can require more labor |
| PVC | Drain/waste | Lightweight and corrosion-resistant | Application limitations |
| ABS | Drain/waste | Durable and lightweight | Availability varies |
There is no single pipe material that is automatically best for every bathroom. A qualified plumber can recommend materials that work with the existing plumbing system and applicable requirements.
Bathroom Renovation Plumbing Costs: What Affects the Price?
Bathroom plumbing costs vary considerably because every renovation has a different starting point.
Major cost factors can include fixture relocation, pipe replacement, drain rerouting, wall or floor access, concrete cutting, hidden water damage, fixture upgrades, labor, permits, and inspection requirements.
Keeping the toilet, shower, and sink in their existing locations can reduce the amount of new plumbing required. Conversely, changing the bathroom layout can involve opening additional surfaces and modifying several systems at once.
Hidden Costs Homeowners Often Miss
Demolition can reveal corroded pipes, damaged subfloors, leaking connections, old shutoff valves, or previous plumbing work that does not meet current requirements.
A realistic renovation budget should therefore include some allowance for unexpected conditions rather than assuming every component will be accessible and reusable.
Bathroom Plumbing Codes, Permits, and Inspections
Plumbing requirements vary by location, so homeowners should check with the relevant local authority before beginning work that may require permits or inspections.
The scope of the project can influence whether a permit is required. Moving fixtures, changing drainage, modifying supply lines, or making significant alterations may have different requirements from simple fixture replacement.
Why Inspection Matters
An inspection can identify problems before plumbing is hidden behind drywall, tile, flooring, or cabinetry.
Do not assume that plumbing is ready to conceal simply because the fixtures appear to work. Required testing and inspections should be completed according to local requirements and the project’s specifications.
How to Test Plumbing Before Closing the Walls
Testing before concealment is one of the most valuable steps in a bathroom renovation.
Check supply connections for leaks and verify that shutoff valves work properly. Drainage should also be checked for leaks and appropriate flow.
The shower area deserves special attention because plumbing, waterproofing, the shower base, and finished surfaces all need to work together.
Photograph the Open Walls
Take clear photographs before drywall or tile covers the plumbing. Record the locations of:
- Supply lines
- Drain pipes
- Valves
- Shutoffs
- Vent lines
- Access points
These photographs can be extremely useful years later if you need to install cabinets, shelves, grab bars, or make repairs.
Common Bathroom Renovation Plumbing Mistakes
Moving Fixtures Without Checking Drain Routes
A new layout may look perfect on paper but become difficult once drainage and venting are considered.
Closing Walls Before Testing
Leaks hidden behind finished surfaces can cause major damage and expensive repairs.
Ignoring Venting
Drainage and venting work together. Changing a fixture without considering the existing vent arrangement can create performance problems.
Forgetting Shutoff Valves
Accessible shutoffs make future maintenance easier and can reduce the need to shut down larger portions of the plumbing system.
Ignoring Existing Plumbing
A bathroom renovation is often an excellent opportunity to address aging pipes and questionable previous repairs before new finishes make access difficult.
Poor Coordination
Plumbing should be coordinated with waterproofing, tile, cabinetry, electrical work, and fixture specifications. A beautiful bathroom can still fail if the plumbing and finishing trades were not properly coordinated.
DIY Bathroom Plumbing vs. Hiring a Professional
Some homeowners may be comfortable replacing an accessible faucet or performing other simple fixture work. Major bathroom renovation plumbing is different.
Moving drains, changing vents, replacing concealed pipes, relocating shower valves, or performing work that requires permits can involve technical requirements and significant consequences if installed incorrectly.
When interviewing a plumber, ask about licensing where applicable, insurance, the exact scope of work, permit responsibility, testing, inspections, warranties, and what happens if hidden problems are discovered.
A Simple Bathroom Renovation Plumbing Timeline
A typical project can follow this general sequence:
- Finalize the bathroom layout.
- Inspect the existing plumbing.
- Confirm local requirements and permits.
- Complete careful demolition.
- Repair hidden plumbing problems.
- Install rough-in plumbing.
- Test the plumbing system.
- Complete required inspections.
- Waterproof and close the walls.
- Install finished fixtures.
- Test the completed bathroom.
- Keep photographs and project documentation.
The exact sequence can vary depending on the renovation and local requirements.
Bathroom Renovation Plumbing Checklist
Before renovation:
- Finalize fixture locations
- Inspect existing plumbing
- Confirm fixture specifications
- Check permit requirements
- Plan supply, drain, and vent routes
During rough-in:
- Install supply lines
- Install drains
- Complete required venting
- Position traps and valves correctly
- Confirm fixture dimensions
- Install accessible shutoffs
Before closing walls:
- Test supply lines
- Check drainage
- Inspect connections
- Complete required inspections
- Photograph concealed plumbing
- Coordinate waterproofing
After installation:
- Check for leaks
- Test faucets and shower
- Check toilet operation
- Test drainage
- Confirm shutoffs work properly
FAQs About Bathroom Renovation Plumbing
What plumbing is needed for a bathroom renovation?
Bathroom renovation plumbing may include water supply lines, drains, waste piping, venting, traps, shutoff valves, fixture connections, and shower or bathtub valves. The exact work depends on the existing layout and the changes planned.
Do I need a plumber to remodel a bathroom?
Simple fixture replacements may be manageable for some homeowners, but complex plumbing changes should generally involve a qualified professional. Moving toilets, drains, vents, or concealed supply lines can create significant problems if incorrectly installed.
Is it cheaper to keep bathroom fixtures in the same location?
Keeping fixtures in their existing locations can reduce plumbing complexity because fewer supply and drainage lines may need to be changed. However, the existing plumbing should still be inspected before deciding to reuse it.
What is bathroom plumbing rough-in?
Rough-in is the stage when supply, drainage, venting, traps, valves, and other concealed plumbing components are installed before walls and finished surfaces are completed.
Should plumbing be replaced during a bathroom remodel?
Not necessarily. Replacement depends on the condition, age, material, configuration, and suitability of the existing plumbing. A professional inspection can help determine which components should remain and which should be upgraded.
Do bathroom renovations require plumbing permits?
Permit requirements depend on your location and the scope of work. Significant plumbing alterations may require permits and inspections, while minor fixture replacements may have different requirements. Always verify local rules before construction.
What are the most common bathroom renovation plumbing mistakes?
Common mistakes include moving fixtures without planning drainage, ignoring venting, using unsuitable materials, closing walls before testing, forgetting shutoff valves, and failing to coordinate plumbing with waterproofing and finished surfaces.
Conclusion
Successful bathroom renovation plumbing starts long before the new fixtures are installed. Planning the layout, inspecting existing pipes, understanding rough-in plumbing, coordinating fixture locations, and testing the system before closing walls can prevent many expensive problems.
If your renovation involves moving toilets, showers, drains, vents, or concealed supply lines, professional guidance can help ensure the work is safe, functional, and appropriate for local requirements. Treat the plumbing as part of the bathroom’s foundation—not an afterthought—and your finished renovation will be far more likely to perform as well as it looks.